-
H Potter Plant Terrarium Container Wardian Case Indoor Planter 65-1R
Regular price $89.50Regular priceUnit price per -
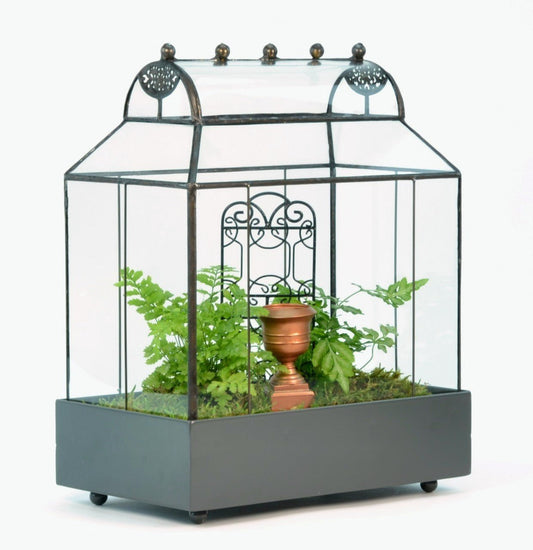
H Potter Terrarium Barrel Vault Wardian Case for sale
Regular price $329.50Regular priceUnit price per -
H Potter Terrarium Classic Wardian Case for Plants
Regular price $159.50Regular priceUnit price per -
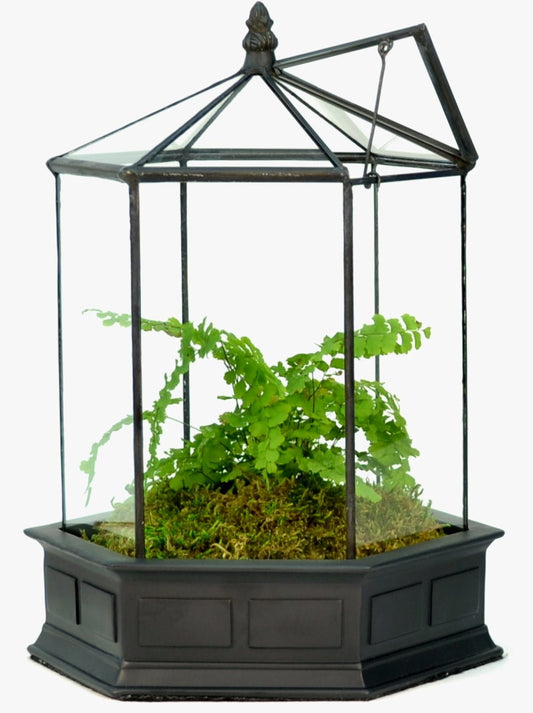
H Potter Six Sided Terrarium Wardian Case
Regular price $109.50Regular priceUnit price per -
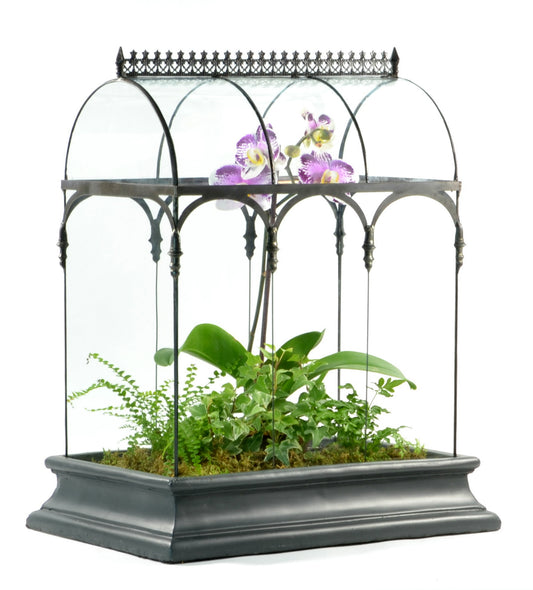
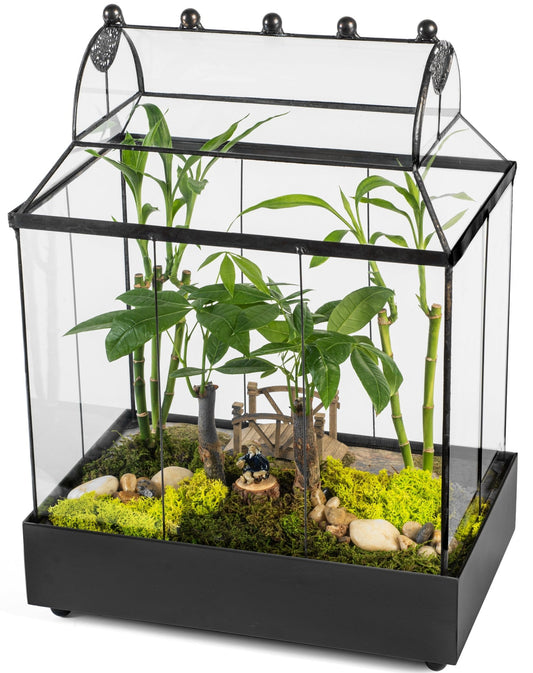
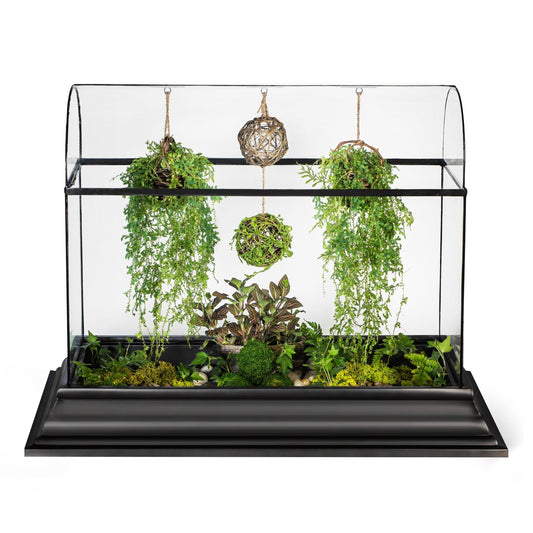
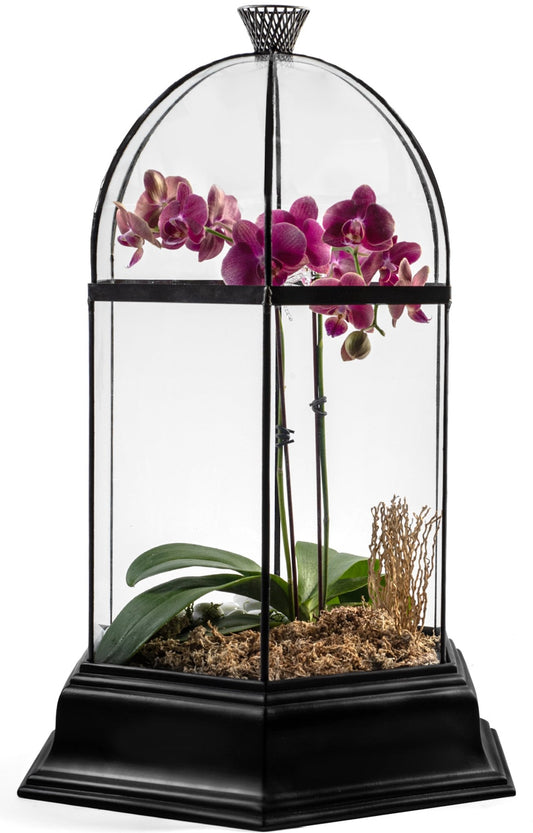
H Potter Large Terrarium Wardian Case - Glass Plant Container
Regular price $319.50Regular priceUnit price per -
H Potter Glass Terrarium For Sale - Planter - Display Case
Regular price $219.50Regular priceUnit price per -
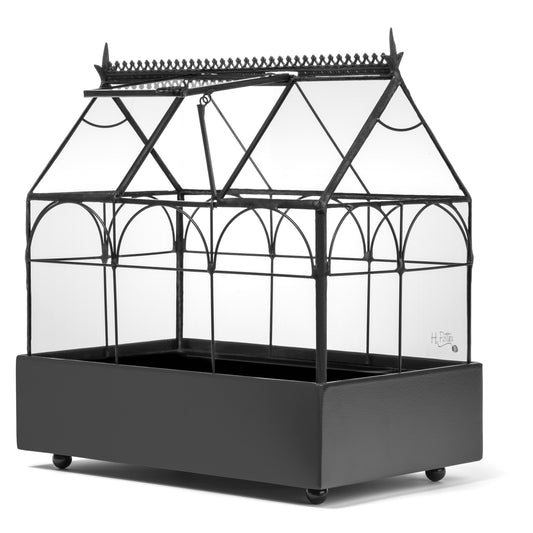
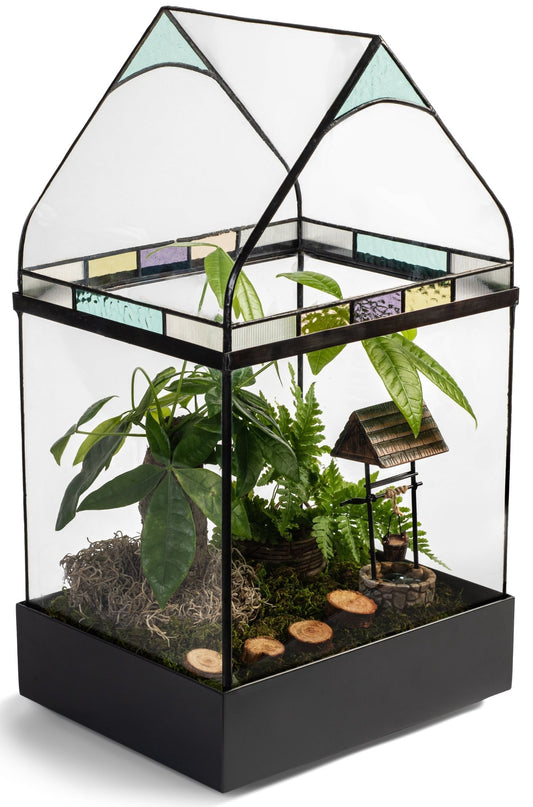
H Potter Wardian Case Terrarium Planter Container WAR158
Regular price $189.50Regular priceUnit price per -
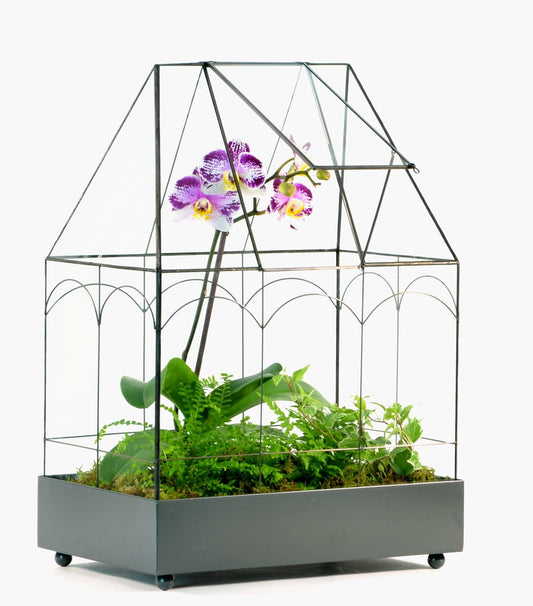
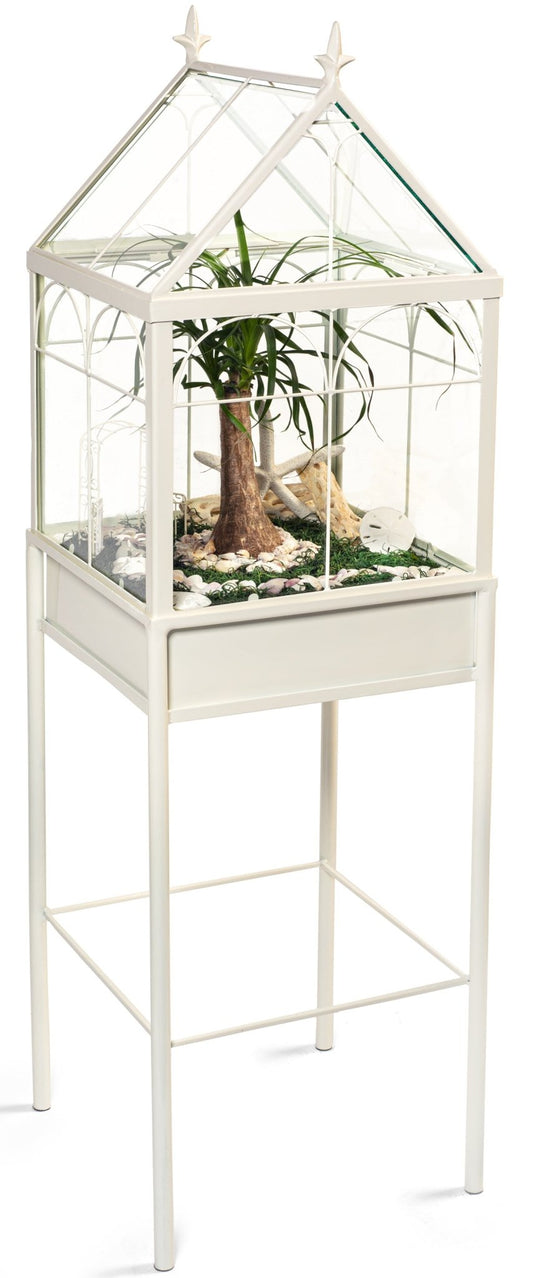
H Potter Square Freestanding Wardian Case Terrarium
Regular price $259.50Regular priceUnit price per -
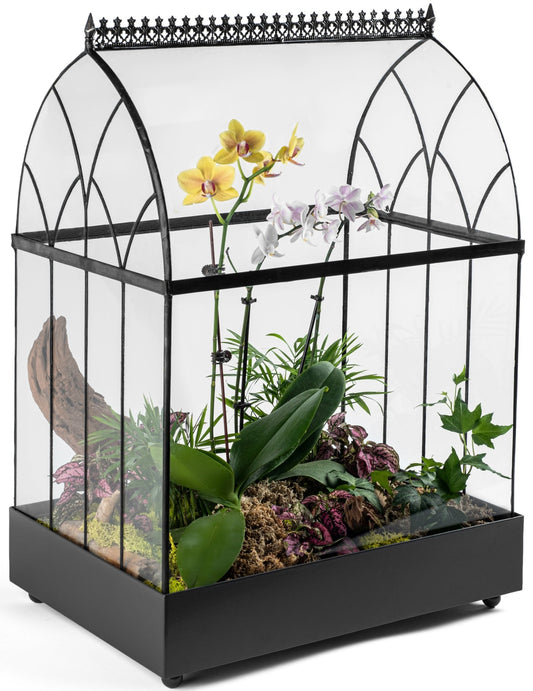
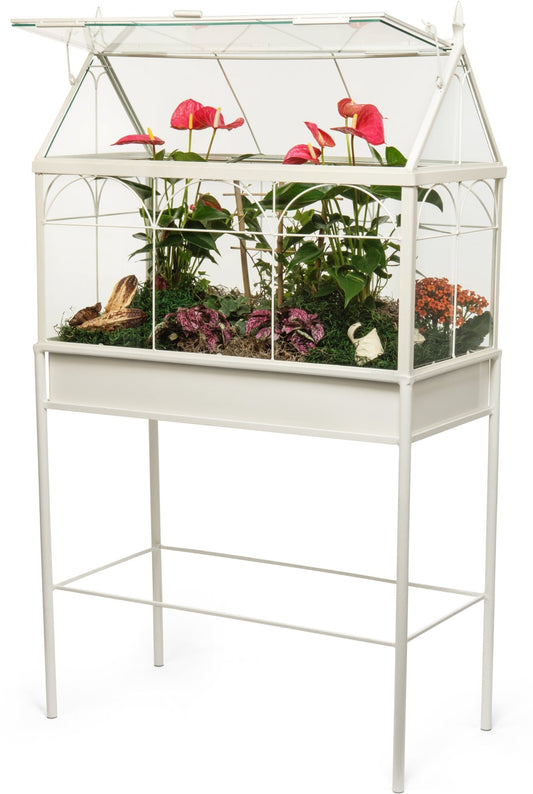
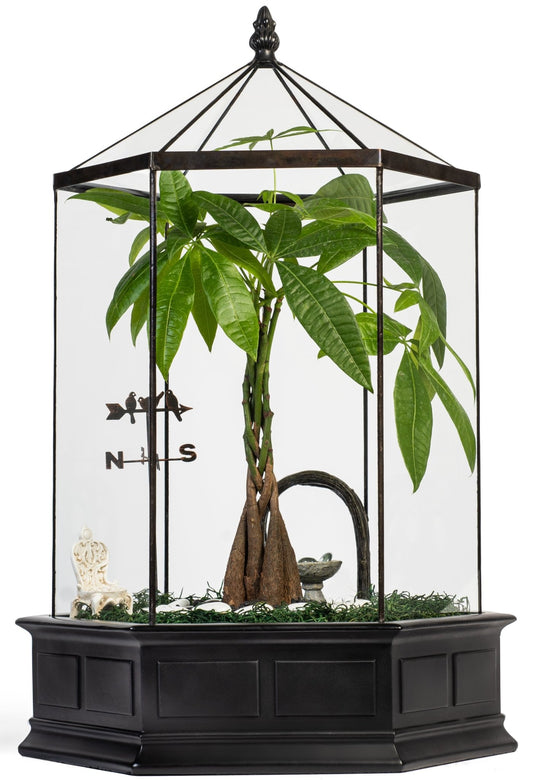
H Potter Large Freestanding Wardian Case Terrarium
Regular price $496.50Regular priceUnit price per -
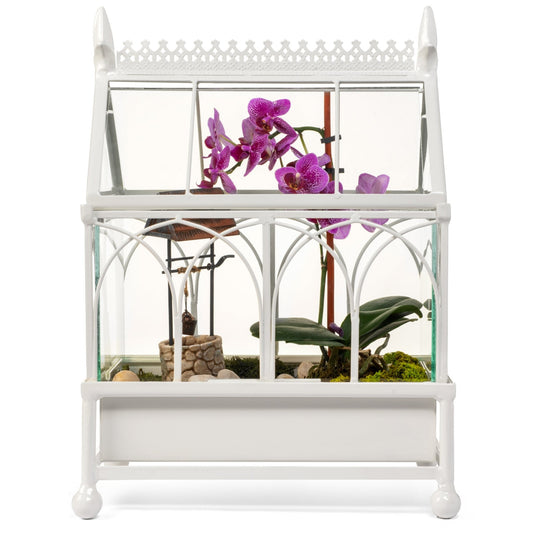
H Potter Square Freestanding Wardian Case Terrarium HP504W
Regular price $259.50Regular priceUnit price per -
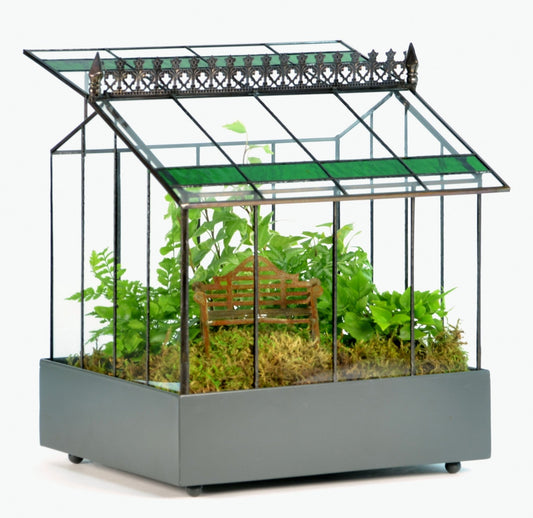
Table Top Barrel Roof Terrarium by H Potter
Regular price $89.50Regular priceUnit price per -
H Potter Terrarium Garden Display Glass
Regular price $198.50Regular priceUnit price per -
H Potter Wardian Case Terrarium For Sale
Regular price $229.50Regular priceUnit price per -
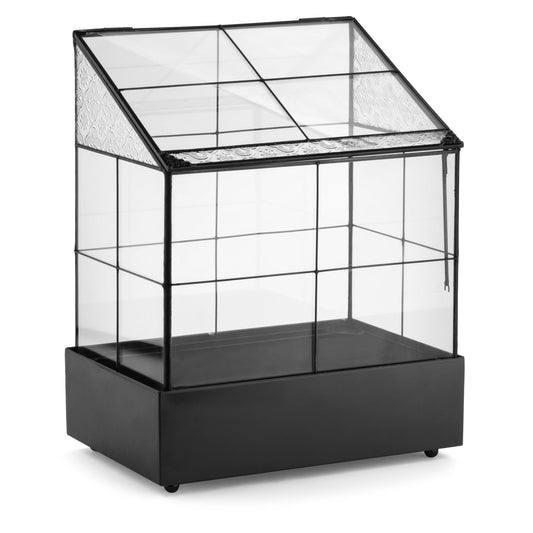
H Potter Terrarium Wardian Case Metal Tabletop
Regular price $139.50Regular priceUnit price per -
H Potter Wardian Case Terrarium Planter Container WAR160
Regular price $149.50Regular priceUnit price per -
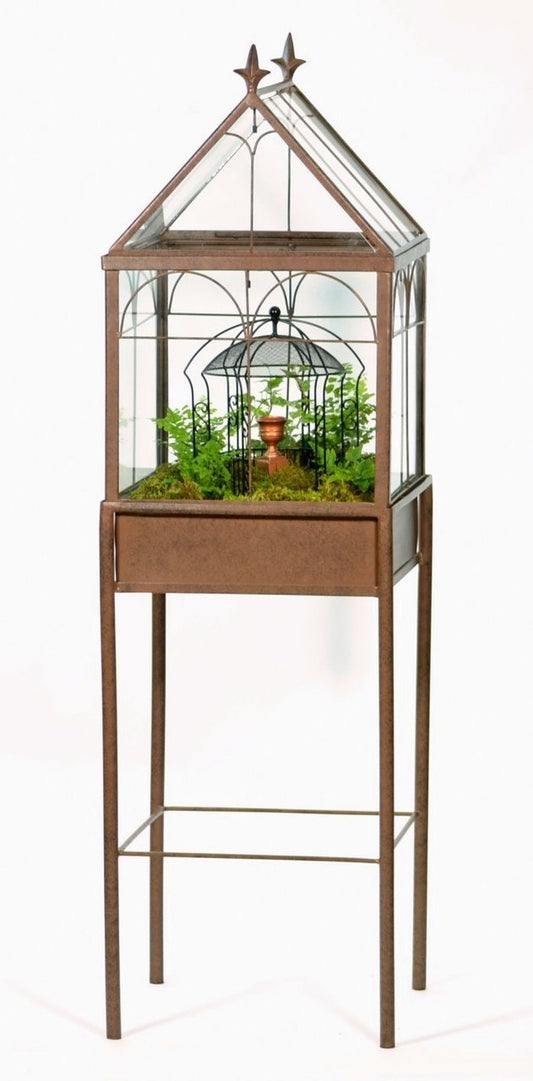
H Potter Large Glass Terrarium Wardian Case Tabletop Style
Regular price $659.00Regular priceUnit price per -
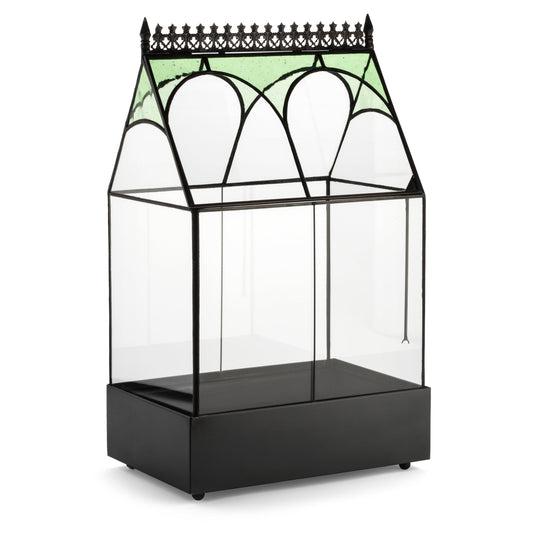
H Potter Terrarium Wardian Case with Colored and Textured Glass Large
Regular price $296.50Regular priceUnit price per -
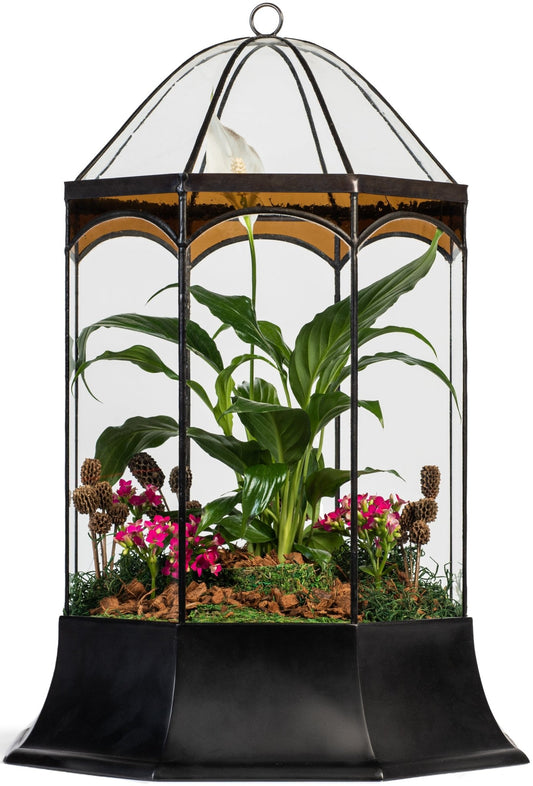
H Potter Eight Sided Terrarium Wardian Case with Curved Glass and Brown Accents Large
Regular price $296.00Regular priceUnit price per -
H Potter Six Sided Terrarium Wardian Case with Curved Glass Large
Regular price $296.50Regular priceUnit price per -
H Potter Six Sided Terrarium Wardian Case Large
Regular price $296.50Regular priceUnit price per